Starting your graphic recorder career – first projects and wise practices

I got an email this week that gave me goosebumps. My graphic recordings were part of a final report, and it turns out that when the Big Decision Maker saw the images, she was moved to tears – saying she could “see” the voices in the meeting talking about the impact their sector is making. Yes! That’s my Big Why for graphic recording right there. When people in the room feel heard, graphic recording builds connection. And afterwards, if the images make meaning and help more people care about the topic – it builds momentum for needed change.
This is why I love teaching graphic facilitation: seeing each person connect to their Big Why. And, it’s a journey. At the end of the signature Drawing Change course, participants ask “where do we go from here?”. Onto a launching a successful practice, of course! Here are some my own, highly personal, very subjective, please-take-with-a-grain-of-salt learnings about a creative career and wise practices so you get off to a great start.
- Part 1: Talk about the Why – and attract paid graphic facilitation work
- Part 2: Choosing successful first projects for you
- Part 3: Get Good and keep going: Practicing
- Part 4: Body language and what people notice
- Part 5: Don’t fall in love with it, send it out
- Part 6: Visual Practice Not Visual Perfect: reflection and learning logs
Everyone’s graphic recording journey is different. One person might be graduating from fine arts training and looking for a practical way to use their drawing skills – and another practitioner could be coming in with an entire career in health care ready to shift into consulting. Your life experience (subjectivity, lived experiences, and also subject matter knowledge) is also a valuable part of how you show up in the work. Try not to fall into comparison-itis. This field is giant, and there is room for different expertise – and styles of graphic recording.
Part 1: Talk about why graphic recording matters – and you’ll attract paid projects
- Talk about the Big Why of graphic recording. How does it help other people? Why does it matter? Why do you love it? Be ready to talk about the Big Why. We’re a niche field and you’ll always be explaining yourself – so tap into this joy early, and have a fun way of telling people why – and what – you do. Have a short, memorable way to confidently tell people at parties what graphic recording is.
- Choose which types of graphic recording processes you want to start with. Pre-planned templates for group work? A studio project not drawn live, where you can do edits and revisions slowly? A graphic recording event (maybe you prefer 2 hour sessions, or a full day)?
- Focus on the client: is it a particular sector, or a particular type of project? For example, you might want to stay within health care or climate sectors. Or, it could be that you really love focus groups or dialogue-based projects like World Cafes and public engagement. Great. Just choose something to start off for now.
- Build your portfolio with practice. Do 10 practice sessions of some kind (paid or unpaid). Then choose 5 images that you want to share with others, ideally related to the sector/format that you want to attract more of. Put the images into a folder you can share via email or put online. (make sure you have permission from any groups you work with!)
- Tell your networks: write an email or post online what types of projects you are looking for. Being more specific definitely helps. “I’m looking to support the Board of a small non-profit with strategic planning and graphic recording services – and I can offer a discount ” or “I’m looking to provide graphic recording services, online, with a facilitator doing public engagement sessions in X city. Do you want to team up?” Or, simply post your portfolio and share a bit about what you’re enjoying. People love to see your creativity!
- Tell a graphic recorder working in the field about your interest, unique skill set, and send them your portfolio so they can keep you in mind
- It’s okay to say no. If you’re looking for graphic recording work, people might approach you to draw children’s books, or draw live at weddings. You can say yes – or no!
Part 2: Choosing successful first projects for you. Business tips
What is a good match for you will be different for everyone. You have a beautiful basket of skills you bring into this field. The first few live graphic recording events should build up your confidence, bring you joy, and you should feel supported. Some suggestions for brand new graphic recorders:

- Work with a facilitator who’s worked with an experienced graphic recorder before. They will be able to help walk through agendas with you
- Job shadow a graphic recorder on the job. Draw along in parallel, or if it’s a full day event, take on specific sessions on your own. This way you’re working live but also have backup support
- Choose a project that will have planning calls. Ask the client about their POP, Purpose, Outcomes and Process. I don’t go anywhere without a POP! The graphic recording supports each part: the client can tell you about the meeting purpose and outcomes. Listen closely to their vision and hopes for the event. In turn, you can advise them on the Process of the graphic recording. Think of yourself as a valuable, trusted consultant with visual expertise. Help educate clients on what you need – so you avoid “show up and draw” syndrome which does a disservice to the full range of skills you could bring
- Create a visual reference library for yourself before the event and talk about it with the client. Put it in Pintrest, MURAL, or a file folder – create a series of photos, reference images, drawings that could work well for this session. Try googling “conceptual image” plus the topic to help find artistic interpretations. Ask about imagery that’s ‘tired’ or overused for this sector, and don’t draw stereotypes
- Align with a topic / sector / format / size of group that you’re familiar with. You’ll feel comfortable with the unspoken cultures of the meeting in the room (eg highly participatory and casual, or more formal eg boardrooms)
- Easy logistics and location. Pick a location with easy transportation for you, and where there’s either a flat wall for with your paper, or somewhere you can easily bring big easels and your gear. Ask for photos of the venue. Show up early, be ready to troubleshoot
- Scale the work to make it reasonable – and ask for help. For example, if someone brings you an agenda with 15 lightning talks in one night, talk to an experienced graphic recorder about why that is super hard, and how you could approach the request
- Agree on expectations on how detailed the graphics should be. There’s no one answer. Maybe you prefer to work slowly and do 1 poster for a full day; maybe you prefer to be more detailed and can plan for multiple posters. Also ask what other types of notetaking will be in the room
- Plan for engagement with the graphics. At minimum, ensure that there’s time in the agenda for participants to engage with the posters. Could there be a gallery walk? Also, see if you can give the room a walk-through/summary out loud at the end.
- Set a good timeline for final files. Choose an event where it’s okay to hand in the digital files to the organizer a few days later (eg, don’t set yourself up to hand in files the same day or next day)
- Final image formats. Ask before the session what formats and what sizes the final files need to be in. Put it in your contract. Plan ahead, so you don’t get stuck drawing too small
- Using the images in your portfolio. Since you’re building a portfolio, ask the client if you can use these images online afterwards, or if the images need to remain confidential, could the client give you a testimonial on the platform of your choice?
- Copyright and licensing. Importantly, how you want clients to be able to use your images. Edit them, or not? Crop them, or not? License for unlimited use, or, should they pay you again if they put it on a billboard later? Start with the Creative Commons “Choose a License” tool to answer some of this. In Canada, when working with Indigenous organizations and rights-holders, consider copyright principles with OCAP so First Nations have control, ownership, access and possession over their data
- Put all of it into a contract. Even if it’s for a friend. Put it into a contract. Write it down. Write down what you’ll do, what you’re not doing, what you need to provide and what the client provides, due dates, how they can use the images and payment terms.
Part 3: Get Good, then Keep Going: Practice
Get good, then keep going. Practice.
This is my favourite book on career success by Cal Neuport. It’s not about finding your passion but instead, putting in the practice. “Passion comes after you put in the hard work to become excellent at something valuable, not before. In other words, what you do for a living is much less important than how you do it.”
New graphic recorders might want to plan some short term homework goals. Here’s a random assignment: develop or copy a library of 20 visual icons, 3 ways of drawing people, 5 colour palettes, 3 metaphor templates and layouts, and 5 ways of grouping information. More experienced graphic recorders might decide to plan out their professional learning with courses from IFVP.org or reading journal articles, learning new lettering or a decision-making model to bring into their work. The point is to practice.
Researching is not the same as practicing. Put pen to paper or tablet instead. If there are styles you like from other people (“ooh, white text on a black background can really pop”), yes go ahead and try it out! Copying other peoples’ work and pretending it’s your own is a no-no and it’s also lazy. Keep practicing and you’ll see your own style emerge.
Practicing graphic recording projects that are time-based: keynotes, presentations
TED or short talks, under 20 minutes. Listen to it twice and draw it on the second time. Remember TED talks are often highly structured, fast paced – great for practicing keynotes overall. Overall, most academic researchers leave their findings until the end; most business speakers and TED talks often lead with their main points.
Podcasts, recorded lectures, interviews. Longer pacing and two voices – up to 60 minutes. Listen and draw at the same time , and try to challenge yourself to finish the drawing within x amount of time afterwards. (try to finish within 60 mins, then 45 min the next time you practice, then 30 minutes the third time you practice)..
Practice readability and context: Show someone your graphic recording who wasn’t at the event, and ask them to give you what they think are the top 3 -5 points. Use that feedback for next time!
Webinars online. One person speaking. Join free webinars on topics you enjoy, and work live as if it’s a paid job. Prepare your title well in advance, research the speaker, set your palette. The benefit of webinars is that often they are shared online afterwards, so if there is a social media hashtag there’s a great window right after the event where people are paying attention, and your graphic might get shared more widely. See if your graphic recording can be used as a teaching tool afterwards to summarize the main points to someone who was not there.
Practicing graphic recording that is dialogue-based: workshops, or group work
- Reach out to facilitators or friends having events or trainings that are likely to have group work (eg is there a facilitation training you’ve been wanting to attend? Could you do a barter?). This type of project is an excellent opportunity to practice synthesizing information from many small groups / group report backs, and when people are doing rounds. Notice the shifts and decisions you make when choosing to scribe every word, vs when you synthesize. Plan with the facilitation team how to gather the key data (would it be 3 ideas from each small group? Capturing as much as possible?)
- Here is a detailed agenda for how graphic recording and World Cafes, or other group work, go together.

Practicing templates or work that is not drawn live
- Get input first. Be brave and see if you can ask a colleague, manager, family member or someone else what kind of process in your organization would benefit from a visual approach. Would it be fun to change up the staff meeting minutes? Want to plan out the family vacation?
- What kind of easy template can you draw in 2 hours? For more elaborate change processes, should it be multiple posters? The more reasonable you make the project the more likely you are to use it.
- Find a buddy to debrief. Use the template and ask someone to be your buddy around what worked, what would you try next time. Edit the template and use it again. Change management takes time – using a template to shift a pattern is awesome and think about how you’ll do it more than once.
- You can also practice with other people – find an IFVP.org regional meetup, call a friend, or host a drinks-and-drawing night (can be online). Graphic recorders are always refreshing their visual vocabularies at conferences and events – trends change, icons get tired, and learning with others is a fantastic practice.

Congratulations! You’ve been hired! What else might you want to think about so you’re successful at that first project?
Part 5: Graphic Facilitation Body Language and What People Notice
Body language and how you want people to interact with you
- Position yourself in the room so you can be seen, and stay energetically attentive to the audience, facilitator and speaker
- What does a ready position look like? What does a relaxed posture look like? How do you show you’re listening actively?
- How do you want people to interact with you, and when? On breaks, notice how being ‘busy’ colouring or being on your phone can affect who engages with you
- During working time, your body language should remain consistent and without sudden movements. Choose if you’re working seated or standing, and avoid a workflow where you repeatedly move seated/standing/ seated/ standing because people will notice if you suddenly jump up to draw (and they’ll make meaning from what you ‘didn’t draw’ as well). The room absolutely picks up on your cues about focus and presence
- Quiet workflow. My personal preferences are that you work with the marker caps off, so there’s no clicking noises during quiet meetings; rustle paper only during coffee breaks
- Unpack with the client about any unspoken rules around your role in the room including how to engage with participants (eg in some meetings, wait to be approached instead of networking)
Agree with the facilitator what your verbal participation and your support looks like during the meeting as a graphic recorder. Our roles during meetings really vary between projects! Talk about this ahead of time. How can you be a great facilitation partner to the other facilitator(s) in the room?
- It’s best practice to be introduced, or to introduce yourself, so the participants can realize the full value of your role. You might want to provide a small script for this.
- Then, are you a silent partner for the rest of the session, or when else might you speak? Would you give instructions for group work, or a summary of the graphics at the end?
- If you need help/ clarification during the meeting for key content, if the meeting goes too fast, or if the art needs to be adjusted for a wide range of reasons – how do you and the facilitator want to flow with this? Is it at the break in a 1:1 conversation? pause the meeting so you can ask for clarification out loud? Handing you post it notes? Over email after the session due to time constraints?
Hurrah, that was a fantastic graphic recording session. Congratulations, you did great. Anything else?
Part 6: Don’t Fall in Love – Send it Out
Don’t fall in love with your graphic recording drawing – send it out. It can be tempting to practice graphic recording skills by spending hours reworking a drawing in private – or to fall in love with making it look perfect – and not show anyone. There’s a balance between practicing and sharing. Practice the skill of being ready to send it out. This work is about process, and you need feedback from others to have the drawings be in the conversation.
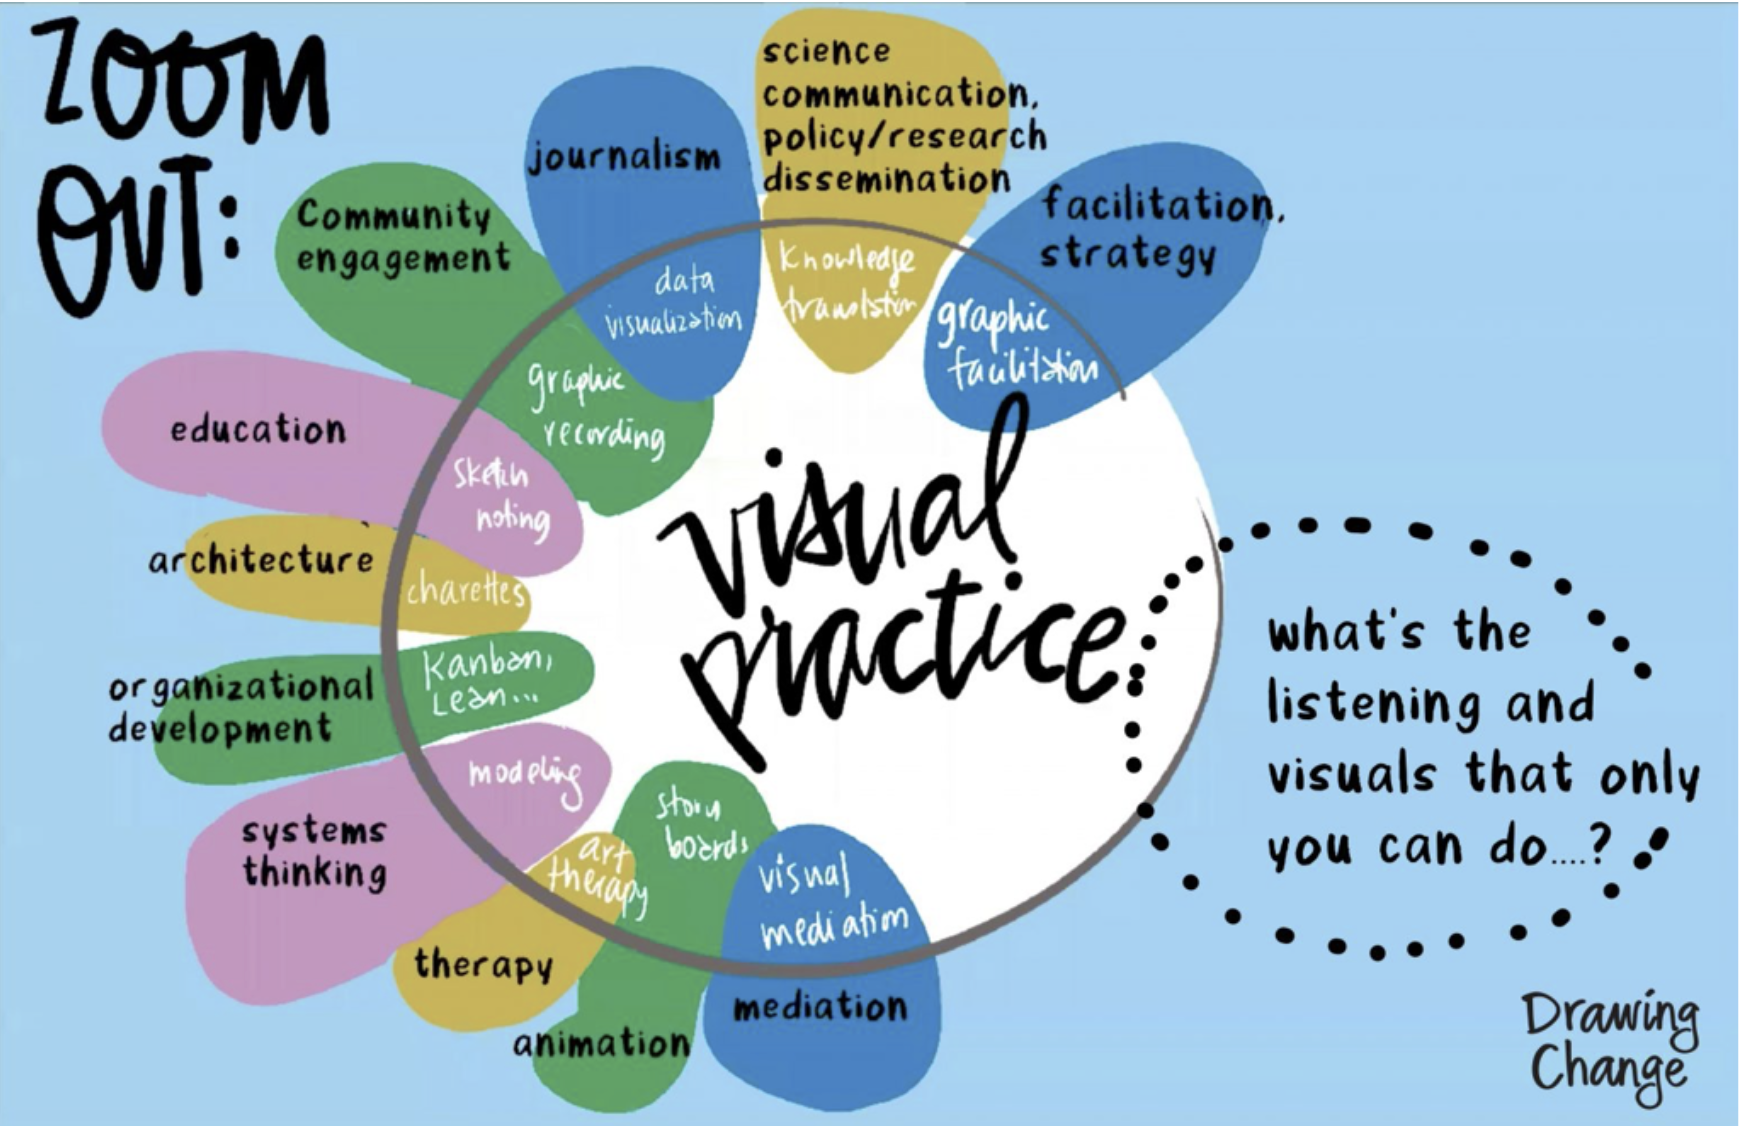
Graphic recording has a close cousin, sketchnoting. Sketchnoting can focus on individual and personal interpretations of a topic, and often has open-ended timelines. For example, I might read a book chapter and sketchnote it for my own learning – but no one is requiring me to show them the next day so I could spend many hours on it. Which is great for sketchnoting but not sustainable when it comes to being a graphic recorder: live graphic recording has an element of timing and urgency because it requires we create something live for a group so they can see their thinking in real time. If we can present their thinking the next day (or a week later), we can miss out on a full range of what a graphic facilitation process can do. So draw it, finish it in a way that respects timelines, and send it out. The process of that feedback from other people is key.
Visual Practice, not Visual Perfect
Remember this is a “visual practice” not a “visual perfect”. For me, a drawing never feels perfect. This is why we call our work a visual practice . I might really enjoy it the moment I create it and then a week later I’m ready to change 18 things about it. But what I’ve learned, is that I will never be able to see what I want to change, or to visualize the breakthrough in my own practice – if I don’t create the first drawing. So apply that to the groups you support. Drawing helps us think, and we are there to help get their ideas onto the page – externalizing the ideas is how we can get to the next level of thinking together. And remember, sometimes what can look like (or feel like!) the most ‘perfect’ drawing is in fact – not always the right one that is needed.
Online you might be comparing your work to what appears to be a very polished, illustrated graphic recording but what if that person missed the main, key point from the discussion – and it didn’t even make it to the page? Or what if you never get to see the messy, scribbled sketch that came out in the last moment where the group went “yeah – that!” Focus on the process, stay humble and be willing to demonstrate that you can change things in the moment. Bring those Avery white-out labels for your paper – or make the shortcut key for erasing digitally second nature – and change it all.
Keep a learning log
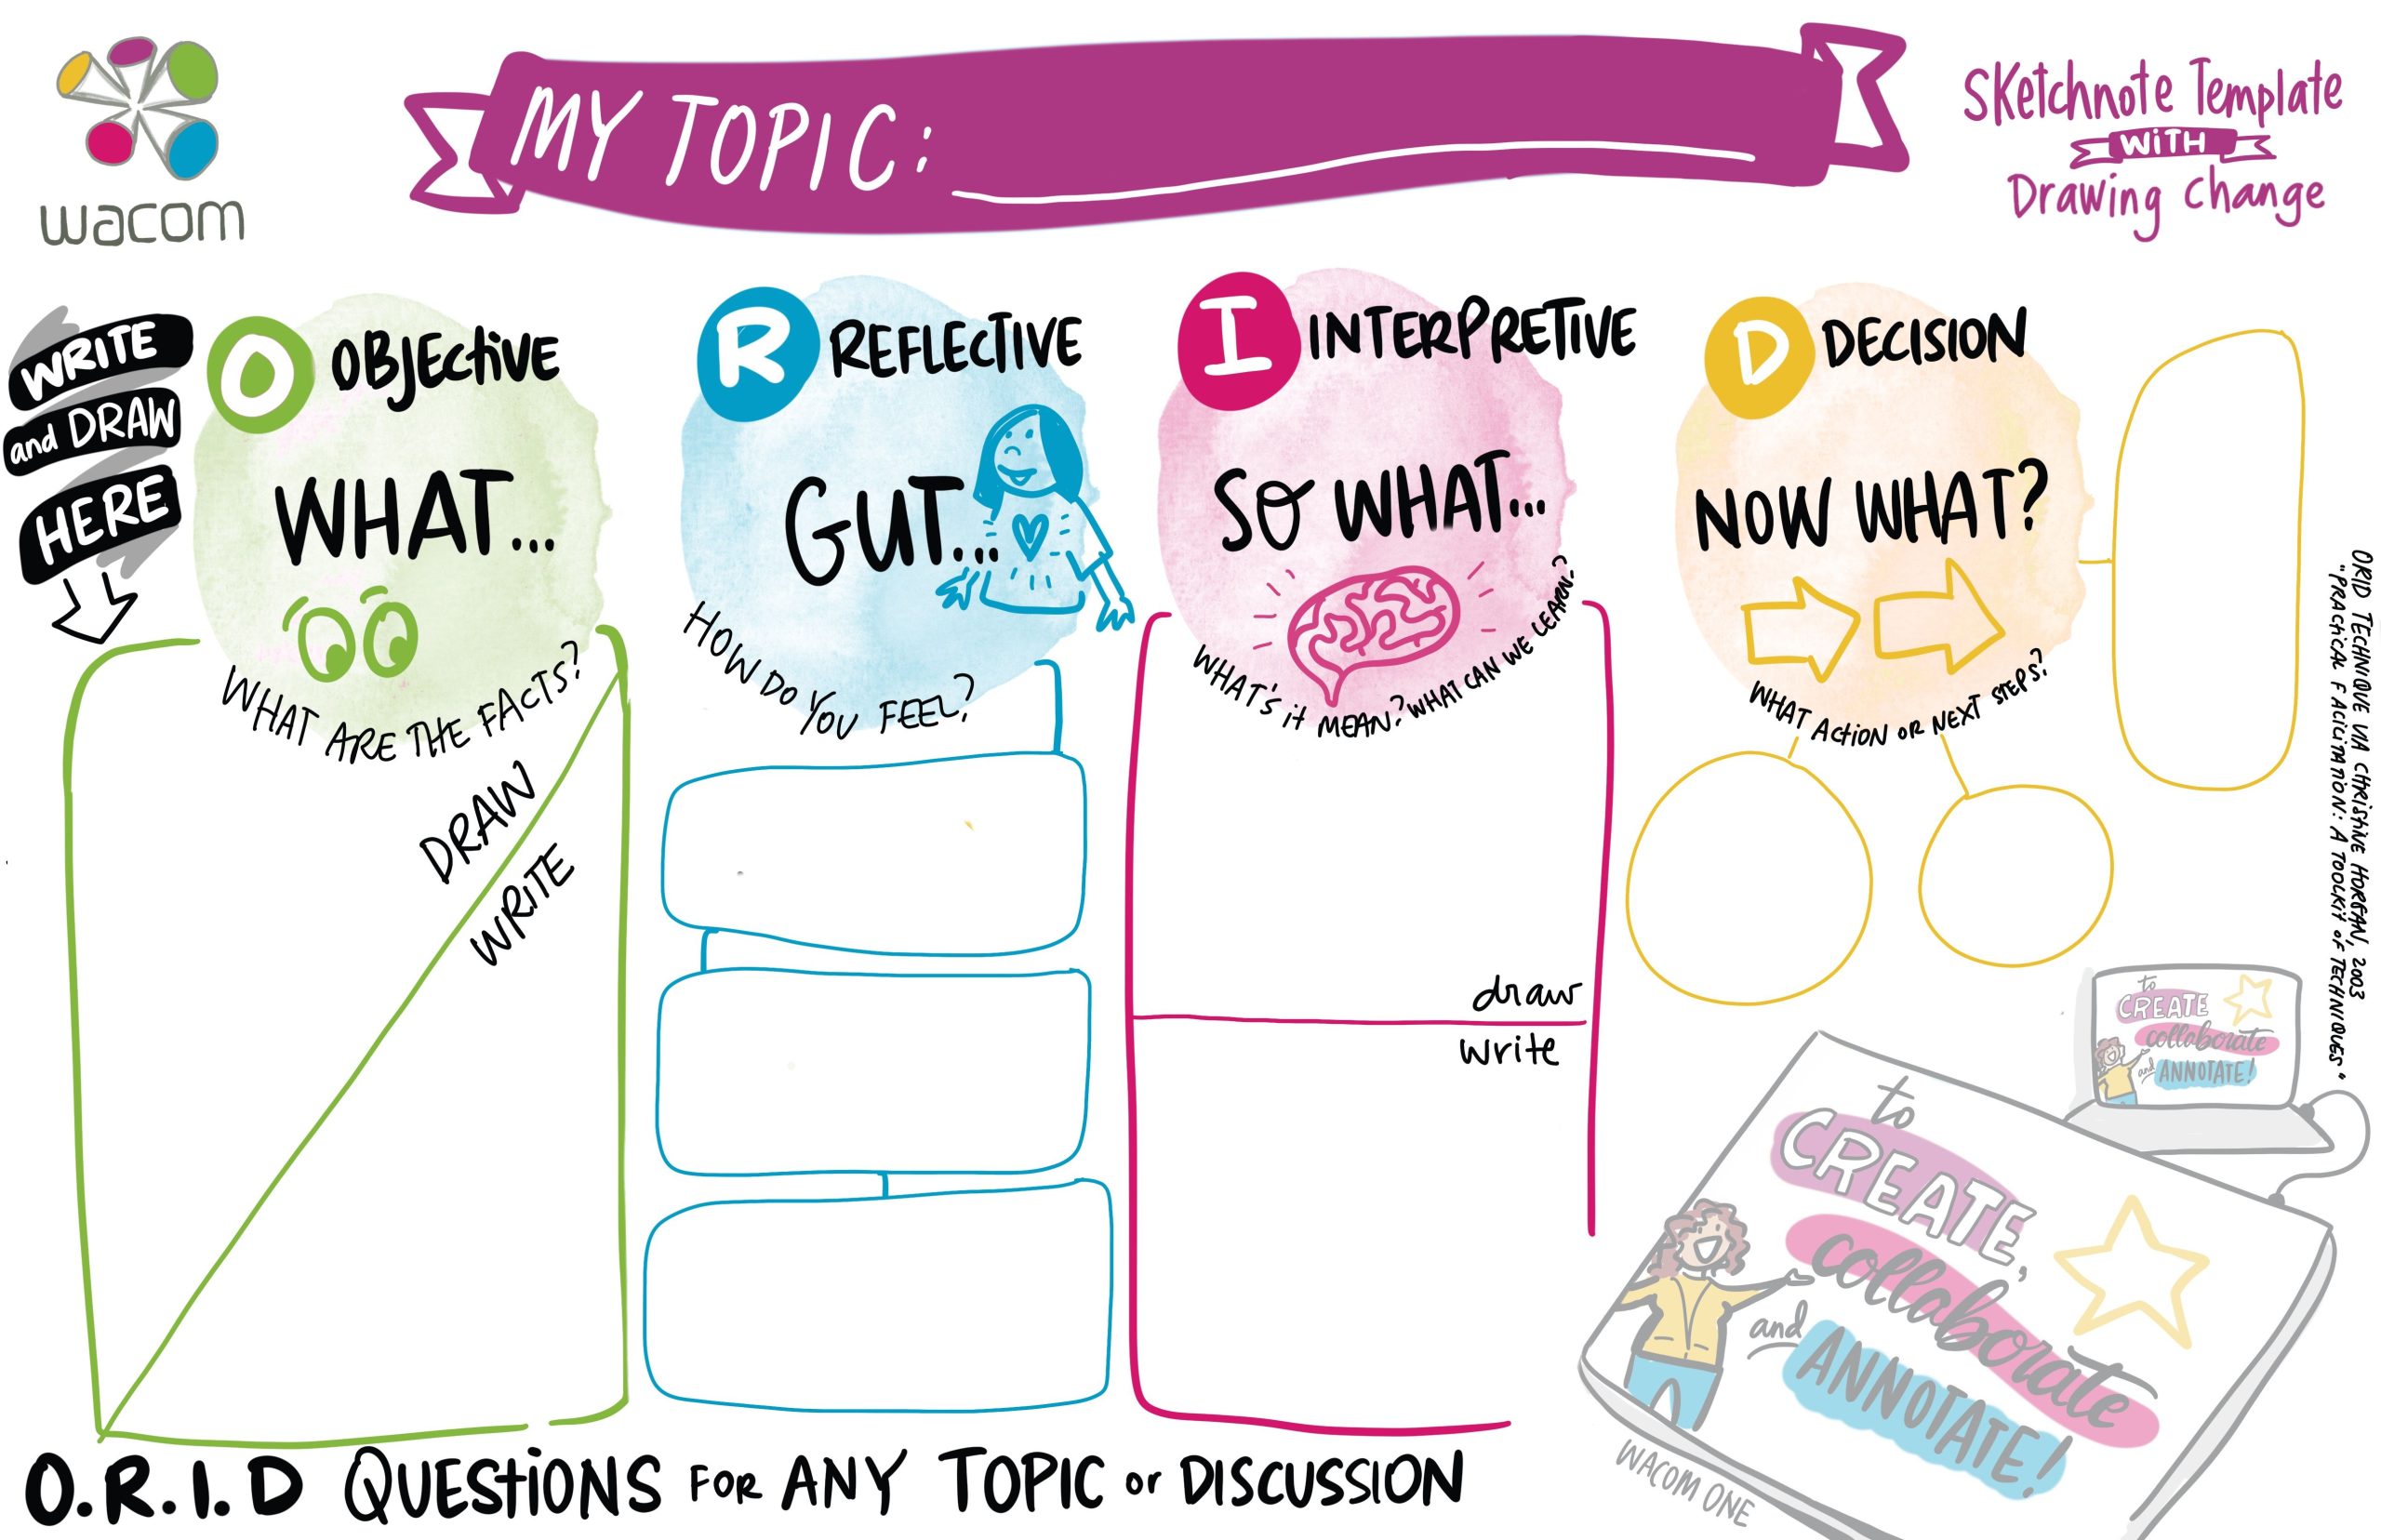
This could be the Notes app in your phone or an actual notebook. Or print out this visual template to help! Your Learning Log is a place to collect your metaphor ideas into a library. It’s a place to practice your icons

- Here’s a free graphic recording reflection resource – a mini book of reflection questions from the book Drawn Together Through Visual Practice
- Importantly, write a few notes to yourself after your session. What did you observe in your work? What are your reflections? What do you think it means? Anything for next time? (this pattern is called ORID, and you can think of it as
- Observe (What?)
- Reflect (So What?)
- Interpret (Now What?)
- Decide (What Next?)
Get paid and feel good. And importantly – since it’s a paid project and you have a contract in place (right? right!) – don’t forget to invoice! People want to pay you and honour your contribution, time and talent.
Welcome to this growing, creative field!
Curious about our 2022 graphic facilitation trainings? October 2022 is in-person, 3 spots left. November 2022 is online and more information here!